Hello, friends! This is Maryám and today I’m going to be focusing on and sharing some ideas on how to use the gorgeous Blooming Mandalas Stamp Set. This 6 x 8 stamp set features two intricate and sophisticated mandala designs with hints of botanical and floral details making it the perfect set for different coloring and background techniques. In addition to that, there is also a coordinating die available which works perfectly with the stamp set.
First Project “Picture Time” – Scrapbook layout
How-To:
To create my layout, I started by heat embossing two big mandalas onto watercolor paper. To do this, I used Altenew’s Embossing Ink to stamp the image and then sprinkled Antique Gold Embossing Powder. Finally, with the help of my heat gun, I melt the powder.
I was really inspired by one of the examples from the trifold that comes with the packaging. I thought that particular mandala looked great so I tried to replicate that look in my coloring but using colors that coordinated with the photo that I was going to use for this layout.
To color the images, I used the Watercolor Brush Markers from the Tropical Fiesta Set. Here are the colors I used- Purple Wine, Fresh Lemon, Lime, Sweet Leaf, Turquoise, Desert Night, and Moss (from the Spring Garden Set).
I didn’t worry about shadows or highlights while I was coloring this mandala because I wanted to enjoy the process. That’s why whenever I wanted to have a darker area, I simply loaded my brush with less water and more pigment. That way, I was able to create a depth effect on the image.
Next, for the title, I used the Mega Brush Alpha Stamp Set to stamp the word “picture” in Dark Night Crisp Dye Ink. Following this, I also cut out some letters from the Simple Alpha Die Set to spell out the word “time”.
If you want to see a more in-depth explanation, you can check out the video tutorial here to learn how this page came together or watch it in HD on my YouTube channel.
Second Project “You are Beautiful” – Card
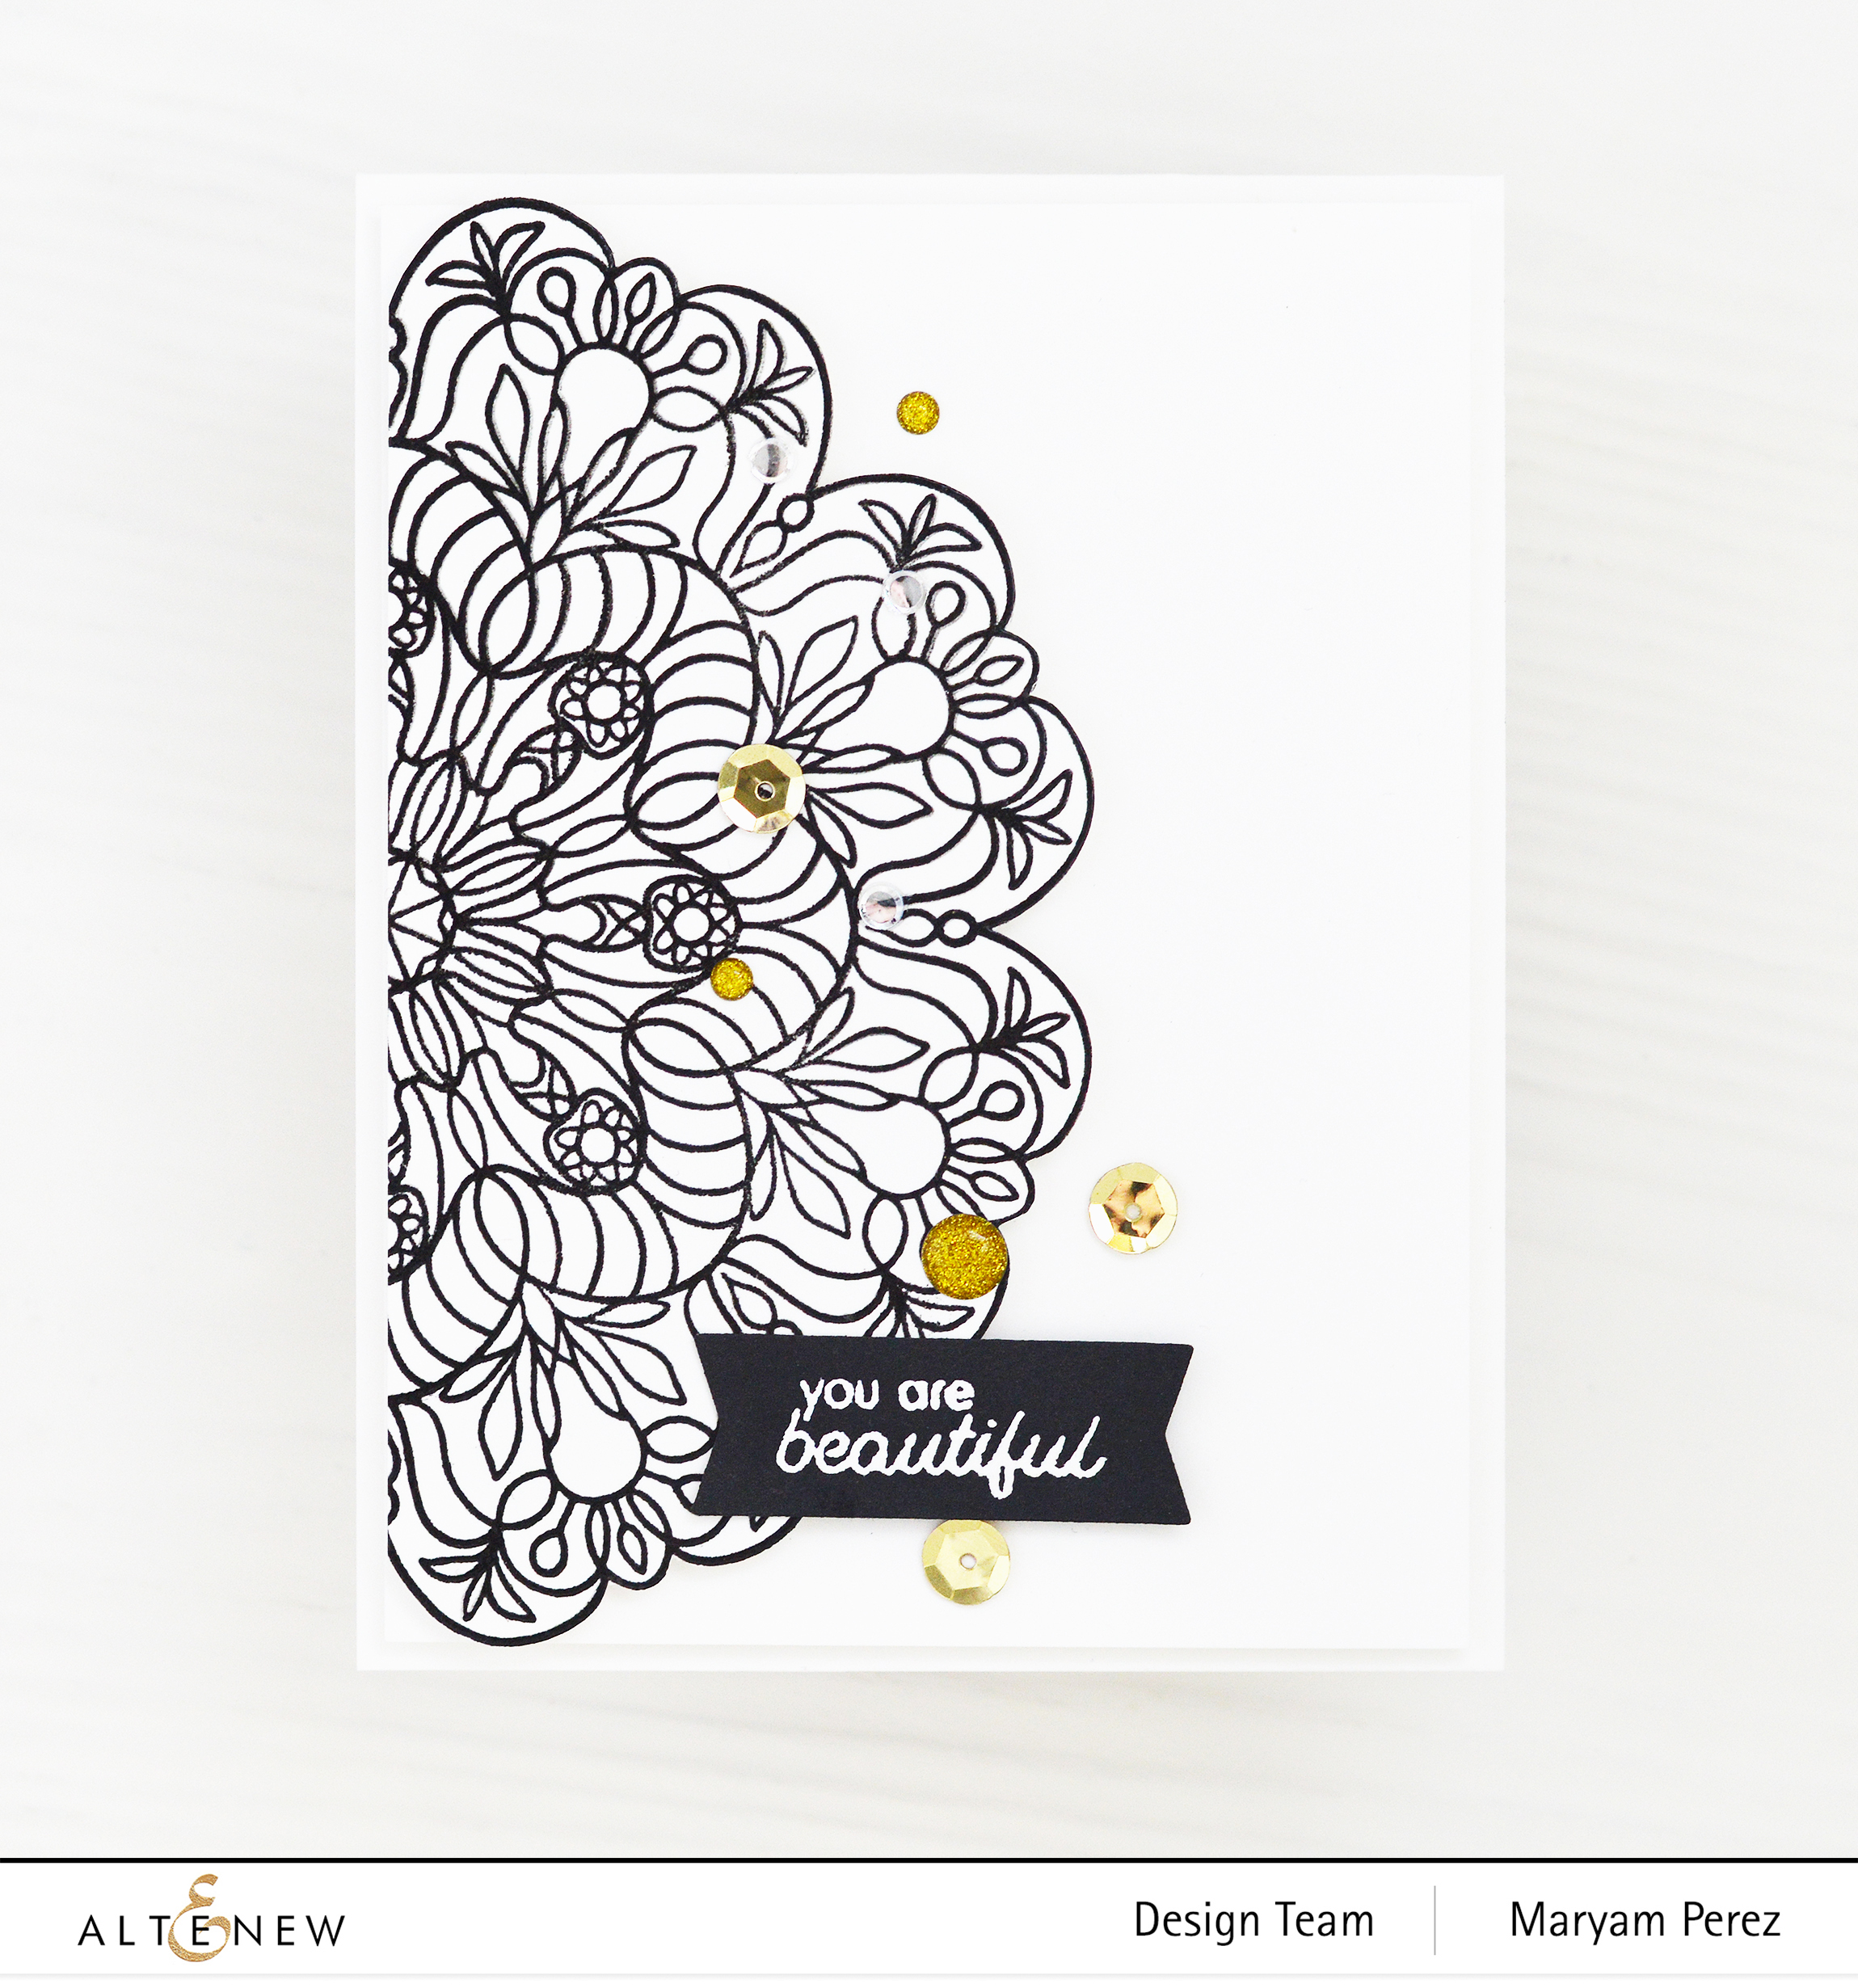
For my second example, I wanted to try something a little bit easier so I created an A2-sized top-folding card. I started by stamping the half mandala from the stamp set onto white cardstock using Obsidian Pigment Ink. I then, Fussy cut the image and adhered it to a 4" x 5 1/4″ inches panel using foam dots.
Continuing with the process, I stamped “You are beautiful” onto black cardstock and sprinkled some Pure White Embossing Powder, cut the phrase into a banner shape, and used it as my sentiment. Lastly, I added some sequins and enamel dots to complete the design.
Third Project “Always” – Card
My third and last example follows pretty much the same design idea as the previous card but this time, I inverted the colors. Instead of using a white background, I used a black background and did the mandala in white rather than in black.
For the sentiment, I used “I’m here for you always” which is a part of the Blooming Mandalas Stamp Set of course, and finished by adding sequins and enamel dots.
Let’s take a closer look at both of the cards.
That is it for today! I hope you liked these ideas featuring the new Blooming Mandalas Stamp Set and feel inspired to create something new! If you have any questions, please leave them in the comments below and I’ll be happy to answer them.
Have a fabulous day!


No comments:
Post a Comment